uniapp android 原生插件封装--入门篇
这个版本默认的SDK是17,官方的例子是旧项目。3、代码需要添加gradle 配置:uniplugin_richalert ->build.gradle。4、把打包的文件拷贝到 安卓开发的app/assets/apps/{appid}下。申请过程需要 sha1 sha256 可以从目录下的这个文件提取:test.jks。6、需要配appKey 不然运行会提示没有配,这步需要导dcloud官网。3、
·
本文将介绍uniapp 插件封装官方例子的搭建,运行。和注意事项,避坑
1、文档地址:简介 | uni小程序SDK
Android平台第三方插件开发指导 - DCloud问答 这个介绍插件与原生的架构
2、下载官方示例:百度网盘 请输入提取码 : jrrb
3、下载最新的 android sdk .2023-3-1
编译项目:
这个版本默认的SDK是17,官方的例子是旧项目。会提示sdkb版本太高,需要如下设置:把sdk改为你本机的1.8

3、代码需要添加gradle 配置:uniplugin_richalert ->build.gradle
dependencies {
    implementation 'androidx.test.ext:junit:1.1.5'
    compileOnly fileTree(dir: 'libs', include: ['*.jar'])

    androidTestImplementation 'com.android.support.test:runner:1.0.2'
    androidTestImplementation 'com.android.support.test:rules:1.0.2'

    androidTestImplementation 'com.android.support.test.espresso:espresso-core:3.0.2'

    androidTestImplementation 'androidx.test:runner:1.4.0'
    androidTestImplementation 'androidx.test.espresso:espresso-core:3.4.0'


    testImplementation 'junit:junit:4.12'

    compileOnly 'androidx.recyclerview:recyclerview:1.0.0'
    compileOnly 'androidx.legacy:legacy-support-v4:1.0.0'
    compileOnly 'androidx.appcompat:appcompat:1.0.0'
    compileOnly 'com.alibaba:fastjson:1.2.83'

    compileOnly fileTree(dir: '../app/libs', include: ['uniapp-v8-release.aar'])

    compileOnly 'com.alibaba:fastjson:1.1.46.android'
}
uni.dcloud.io.uniplugin_richalert.ExampleInstrumentedTest.java 这个代码修改:
package uni.dcloud.io.uniplugin_richalert;

import android.content.Context;

import androidx.test.ext.junit.runners.AndroidJUnit4;
import androidx.test.platform.app.InstrumentationRegistry;

import org.junit.Test;
import org.junit.runner.RunWith;

import static org.junit.Assert.assertEquals;

/**
 * Instrumented test, which will execute on an Android device.
 *
 * @see <a href="http://d.android.com/tools/testing">Testing documentation</a>
 */
@RunWith(AndroidJUnit4.class)
public class ExampleInstrumentedTest {
    @Test
    public void useAppContext() {

        // Context of the app under test.
        Context appContext = InstrumentationRegistry.getInstrumentation().getTargetContext();

        assertEquals("uni.dcloud.io.uniplugin_richalert.test", appContext.getPackageName());
    }
}
到这步,编译可以通过了。
运行插件
接下来,如何运行插件,并进行测试:
1、在hbuilderx 导入项目:
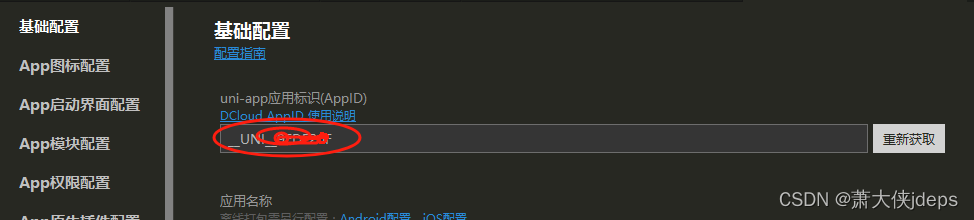
2、申请appId
3、发行--》原生app本地打包--》生成本地资源
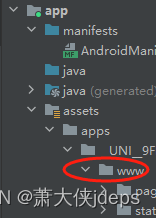
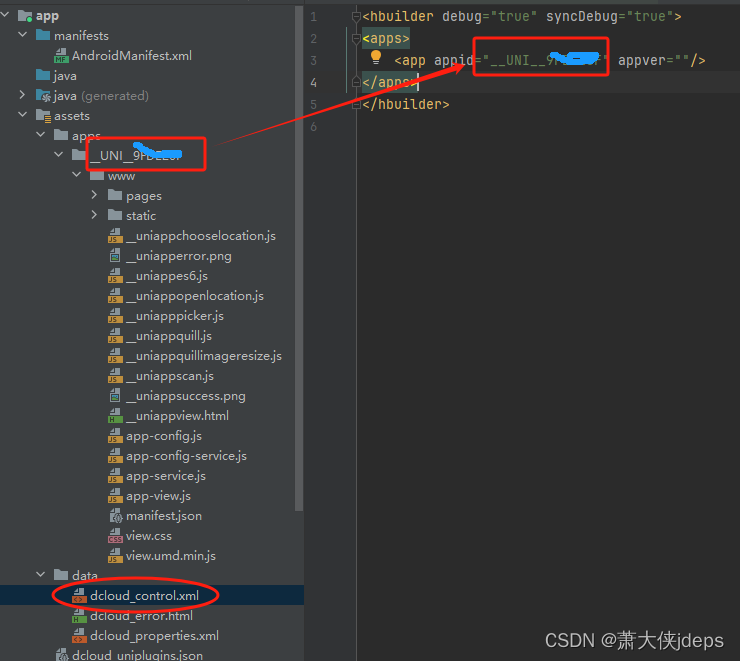
4、把打包的文件拷贝到 安卓开发的app/assets/apps/{appid}下。
5、配置这
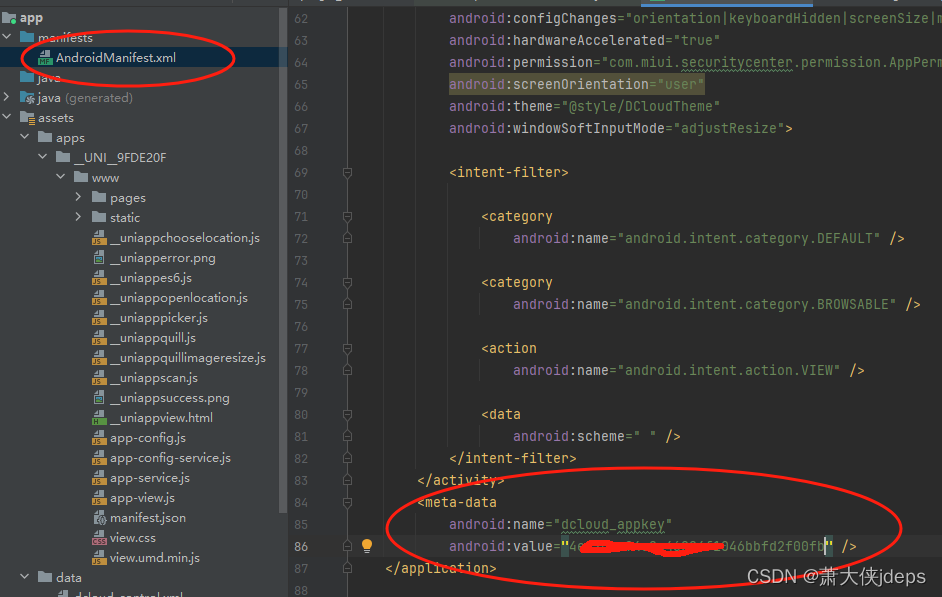
6、需要配appKey 不然运行会提示没有配,这步需要导dcloud官网
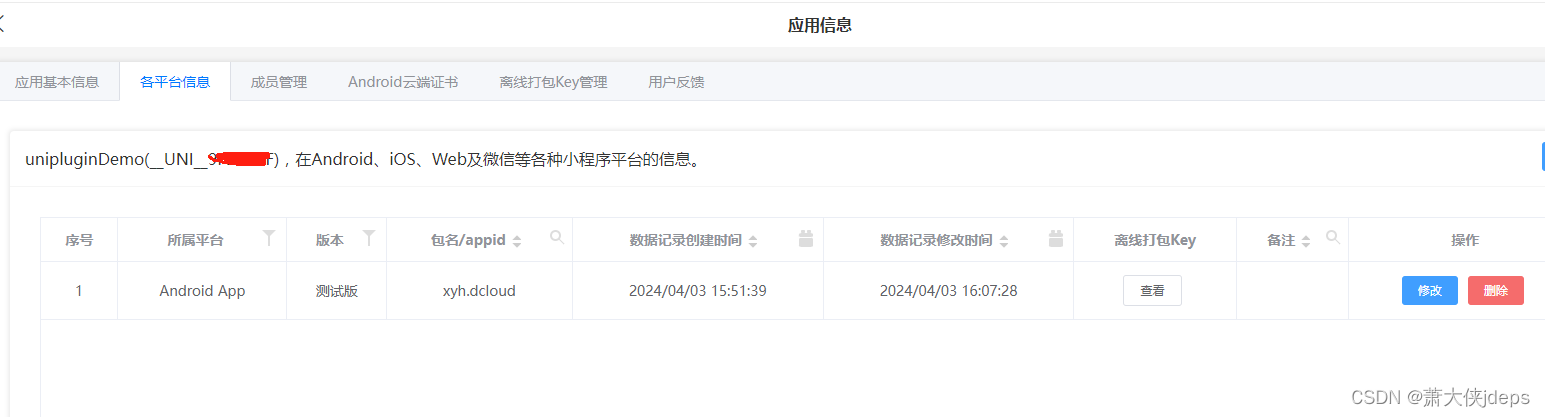
申请过程需要 sha1 sha256 可以从目录下的这个文件提取:test.jks
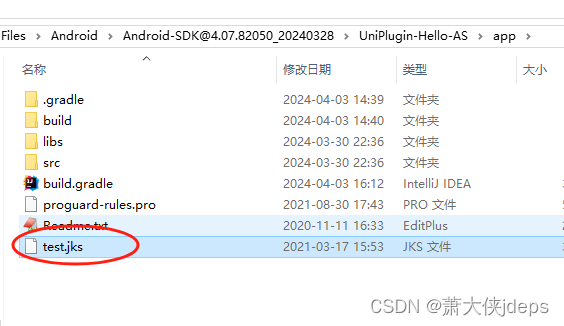
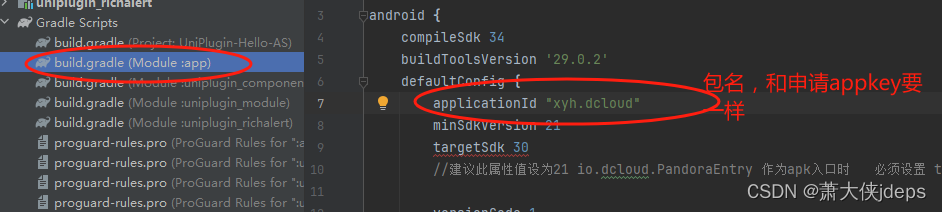
keytool -list -v -keystore test.jks7、在android开发工具里配置 appkey:
包名要和申请的一样
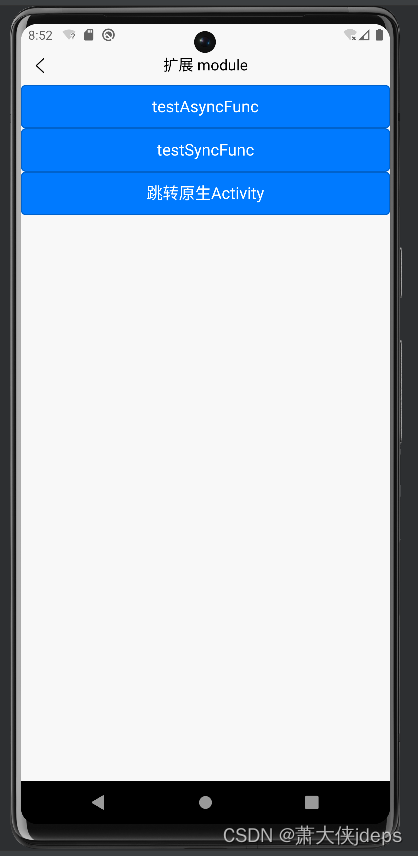
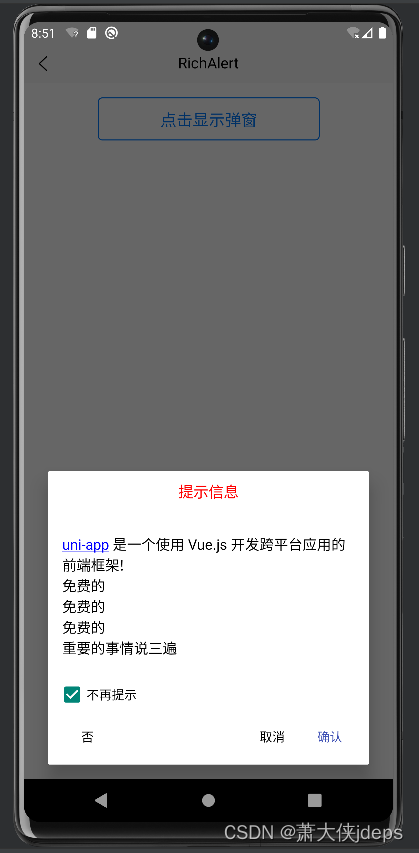
都搞定了。运行:![]()


欢迎加入 MCP 技术社区!与志同道合者携手前行,一同解锁 MCP 技术的无限可能!
更多推荐
 3
3 0
0- 0


 已为社区贡献1条内容

所有评论(0)