vue 底部导航栏 TaBbar 组件的封装
vue 底部导航栏 TaBbar 组件的封装
·
vue 底部导航栏 TaBbar 组件的封装 (SPA)
实现需求:
- 点击对应按钮出现对应的页面 (router)
- 点解切换样式
- 可以自定义插入多少个底部选项与按钮
- 父子组件值的传递
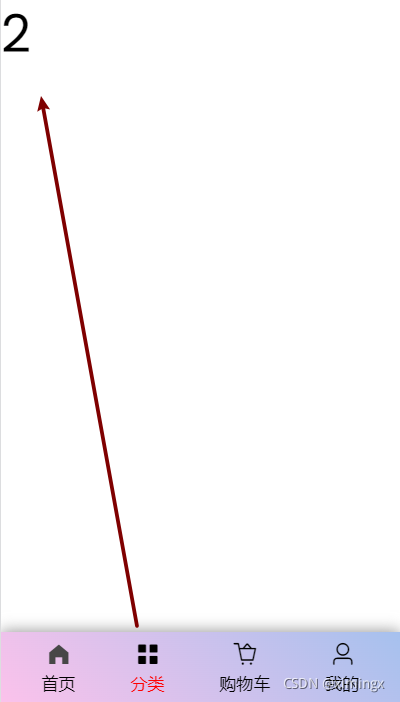
样式展现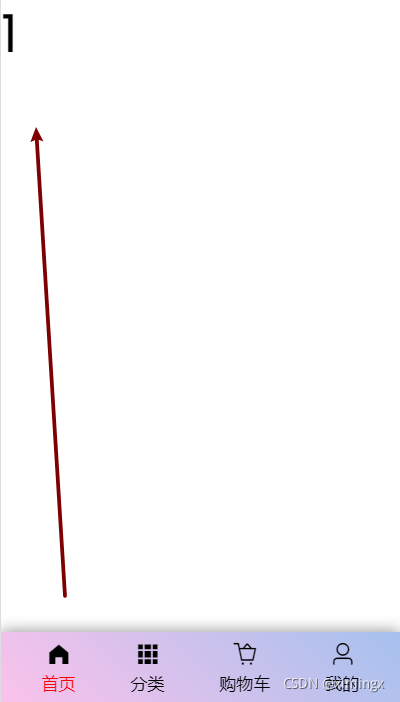
先对子组件进行设计
这里要注意 , slot 上进行事件的监听和分发,这是不可能的。
需要在 slot 插条的外部嵌套一层 div , 对其设置点击或者其他的事件以及样式
<template>
  <div class="tab-bar-item" v-on:click="itemClick">
   <div v-if="isActive">
     <slot name="item-icon"></slot>
   </div>
    <div v-else>
      <slot name="item-active"></slot>
    </div>
    <div v-bind:class="{active: isActive}" v-bind:style="isActiveColor">
      <slot name="item-text"></slot>
    </div>
  </div>
<!--  -->
</template>
这里 this.$router.push(this.path); 的意思时跳转到点击对应的页面
<script>
export default {
  name: "TabBarItem",
  methods: {
    itemClick: function() {
      this.$router.push(this.path);
    }
  },
  props: {
    path: String,
    activeColor: {
      type: String,
      default: "red"
    }
  },
  computed: {
    isActive:function() {
      return this.$route.path.indexOf(this.path) !== -1
    },
    isActiveColor:function () {
      return this.isActive ? {color: this.activeColor} : {}
    }
  }
}
</script>
布局的话没什么好看的
<style scoped>
.tab-bar-item {
  display: flex;
  flex-direction: column;
  justify-content: center;
  align-items: center;
  padding: 0 10px;
}

i {
  margin-top: 8px;
  transform: scale(1.5);
}
.active {
  color: red;
}
</style>
下面就是他的父组件 TabBar , 在这里的 slot 可以接收多个 子 item
<template>
    <div id="tab-bar">
      <slot></slot>
    </div>
</template>
<script>
export default {
  name: "TabBar"
}
</script>
<style scoped>
#tab-bar {
  display: flex;
  justify-content: space-evenly;
  align-items: center;
  text-align: center;
  height: 49px;
  background-image: linear-gradient(45deg, #fbc2eb 0%, #a6c1ee 100%);
  position: fixed;
  left: 0;
  right: 0;
  bottom: 0;
  box-shadow: 0 -1px 10px #9c9c9c;
}
</style>
最后在主页面的调用
下面演示的时放入了四个子组件
参数可选可不选,有固定默认值
<template>
  <TabBar>
    <TabBarItem path="/home" activeColor="red">
      <i class="el-icon-s-home" slot="item-icon"></i>
      <i class="el-icon-s-home" slot="item-active" style="color:rgb(71,71,71)"></i>
      <span slot="item-text">首页</span>
    </TabBarItem>
    <TabBarItem path="/category">
      <i class="el-icon-menu" slot="item-icon"></i>
      <i class="el-icon-s-grid" slot="item-active"></i>
      <span slot="item-text">分类</span>
    </TabBarItem>
    <TabBarItem path="/cart">
      <i class="el-icon-shopping-cart-full" slot="item-icon" style="font-weight: bolder"></i>
      <i class="el-icon-shopping-cart-full" slot="item-active" style="font-weight: normal"></i>
      <span slot="item-text">购物车</span>
    </TabBarItem>
    <TabBarItem path="/profile">
      <i class="el-icon-user-solid" slot="item-icon"></i>
      <i class="el-icon-user" slot="item-active"></i>
      <span slot="item-text">我的</span>
    </TabBarItem>
  </TabBar>
</template>
<script>
import TabBar from 'components/common/TabBar/TabBar'
import TabBarItem from "components/common/TabBar/TabBarItem";
export default {
  name: "Main",
  components: {
    TabBar,
    TabBarItem
  }
}
</script>
代码不多,重要的不是怎么去用,而是组件化的思想,去封装

欢迎加入 MCP 技术社区!与志同道合者携手前行,一同解锁 MCP 技术的无限可能!
更多推荐


 3
3 0
0- 0


 已为社区贡献1条内容

所有评论(0)