基于Spring AI的Docker自然语言管理实践
一、环境说明
本案例涉及以下环境:
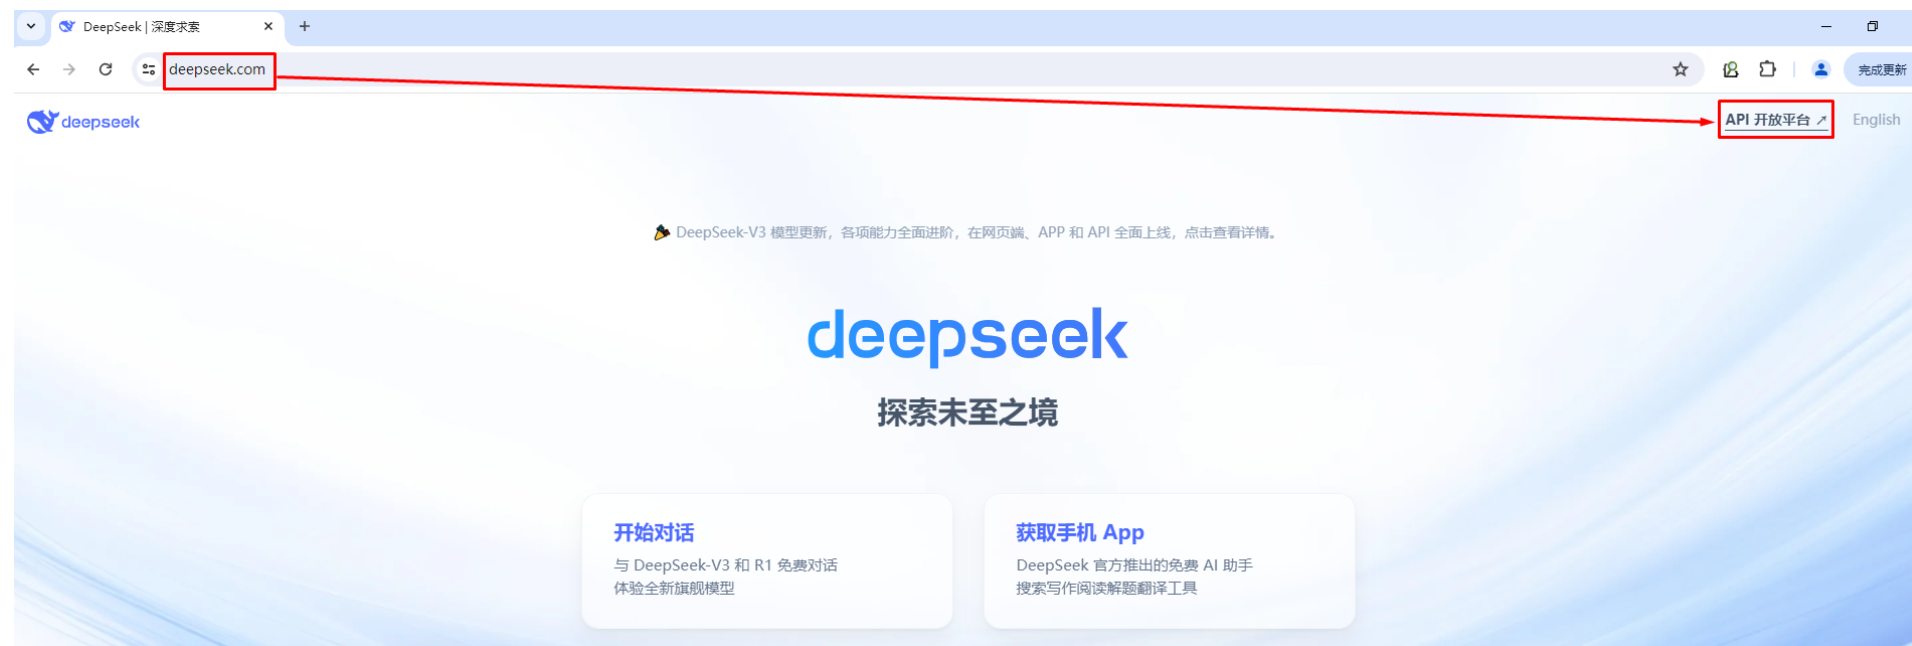
DeepSeek API使用
需要提前准备DeepSeek账号及创建API KEY
uv工具
-
项目背景:由 Python 生态知名团队 Astral(也是
ruff和starlette的开发者)开发,旨在替代pip、pip-tools和virtualenv,专注于极速和轻量化的 Python 依赖管理。 -
功能定位:
-
替代
pip:安装 Python 包。 -
替代
virtualenv:创建虚拟环境。 -
替代
pip-tools:生成和管理requirements.txt。 -
支持跨平台(Linux/macOS/Windows)。
-
使用Docker
可通过docs.docker.com网站提供的命令进行安装。
使用spring-ai-mcp
通过github获取其源代码
使用mcp-server-docker插件
通过github获取插件源代码
二、环境准备
openjdk安装及maven
安装基础依赖
# sudo apt update && sudo apt install -y openjdk-17-jdk maven git
检查版本
# java -version
openjdk version "17.0.14" 2025-01-21
OpenJDK Runtime Environment (build 17.0.14+7-Ubuntu-124.04)
OpenJDK 64-Bit Server VM (build 17.0.14+7-Ubuntu-124.04, mixed mode, sharing)
# mvn --version
Apache Maven 3.8.7
Maven home: /usr/share/maven
Java version: 17.0.14, vendor: Ubuntu, runtime: /usr/lib/jvm/java-17-openjdk-amd64
Default locale: en_US, platform encoding: UTF-8
OS name: "linux", version: "6.8.0-31-generic", arch: "amd64", family: "unix"
# git version
git version 2.43.0
安装docker-ce
Set up Docker's apt repository.
# Add Docker's official GPG key:
sudo apt-get update
sudo apt-get install ca-certificates curl
sudo install -m 0755 -d /etc/apt/keyrings
sudo curl -fsSL https://download.docker.com/linux/ubuntu/gpg -o /etc/apt/keyrings/docker.asc
sudo chmod a+r /etc/apt/keyrings/docker.asc
# Add the repository to Apt sources:
echo \
  "deb [arch=$(dpkg --print-architecture) signed-by=/etc/apt/keyrings/docker.asc] https://download.docker.com/linux/ubuntu \
  $(. /etc/os-release && echo "${UBUNTU_CODENAME:-$VERSION_CODENAME}") stable" | \
  sudo tee /etc/apt/sources.list.d/docker.list > /dev/null
sudo apt-get update
Install the Docker packages.
sudo pt-get install docker-ce docker-ce-cli containerd.io docker-buildx-plugin docker-compose-plugin
# docker version Client: Docker Engine - Community Version: 28.0.4 API version: 1.48 Go version: go1.23.7 Git commit: b8034c0 Built: Tue Mar 25 15:07:16 2025 OS/Arch: linux/amd64 Context: default Server: Docker Engine - Community Engine: Version: 28.0.4 API version: 1.48 (minimum version 1.24) Go version: go1.23.7 Git commit: 6430e49 Built: Tue Mar 25 15:07:16 2025 OS/Arch: linux/amd64 Experimental: false containerd: Version: 1.7.27 GitCommit: 05044ec0a9a75232cad458027ca83437aae3f4da runc: Version: 1.2.5 GitCommit: v1.2.5-0-g59923ef docker-init: Version: 0.19.0 GitCommit: de40ad0
uv工具安装
pipx安装
sudo apt update && sudo apt install -y pipx
将pipx添加到PATH环境变量
# pipx ensurepath
输出内容:
Success! Added /root/.local/bin to the PATH environment variable.

Consider adding shell completions for pipx. Run 'pipx completions' for instructions.

You will need to open a new terminal or re-login for the PATH changes to take effect.

Otherwise pipx is ready to go! ✨ 🌟 ✨
安装uv
用于自动管理虚拟环境
# pipx install uv
输出内容:
installed package uv 0.6.11, installed using Python 3.12.3
  These apps are now globally available
    - uv
    - uvx
⚠️  Note: '/root/.local/bin' is not on your PATH environment variable. These apps will not
    be globally accessible until your PATH is updated. Run `pipx ensurepath` to
    automatically add it, or manually modify your PATH in your shell's config file (i.e.
    ~/.bashrc).
done! ✨ 🌟 ✨
手动添加环境变量,不配置无法使用uv命令
echo 'export PATH="$HOME/.local/bin:$PATH"' >> ~/.bashrc
source ~/.bashrc
验证uv及uvx
# uv --version
uv 0.6.11

# uvx --version
uv-tool-uvx 0.6.11
三、项目创建
spring-ai-mcp项目克隆及编译

# git clone https://github.com/spring-projects-experimental/spring-ai-mcp.git
# cd spring-ai-mcp/
如果需要指定版本,可以使用例如git checkout v0.4.1进行切换。
# mvn clean install -U -Dmaven.test.skip=true
此命令会将构建的JAR包安装到本地Maven仓库(
~/.m2/repository)
输出内容:
[INFO] ------------------------------------------------------------------------
[INFO] Reactor Summary for Spring AI MCP Parent 0.7.0-SNAPSHOT:
[INFO]
[INFO] Spring AI MCP Parent ............................... SUCCESS [  0.534 s]
[INFO] Spring AI MCP BOM .................................. SUCCESS [  0.031 s]
[INFO] Java MCP SDK ....................................... SUCCESS [  5.360 s]
[INFO] Tests for the Java MCP SDK ......................... SUCCESS [  0.735 s]
[INFO] WebFlux implementation of the Java MCP SSE transport SUCCESS [  1.461 s]
[INFO] Spring Web MVC implementation of the Java MCP SSE transport SUCCESS [  0.205 s]
[INFO] Spring AI MCP ...................................... SUCCESS [  6.467 s]
[INFO] Spring AI MCP Docs ................................. SUCCESS [  3.663 s]
[INFO] ------------------------------------------------------------------------
[INFO] BUILD SUCCESS
[INFO] ------------------------------------------------------------------------
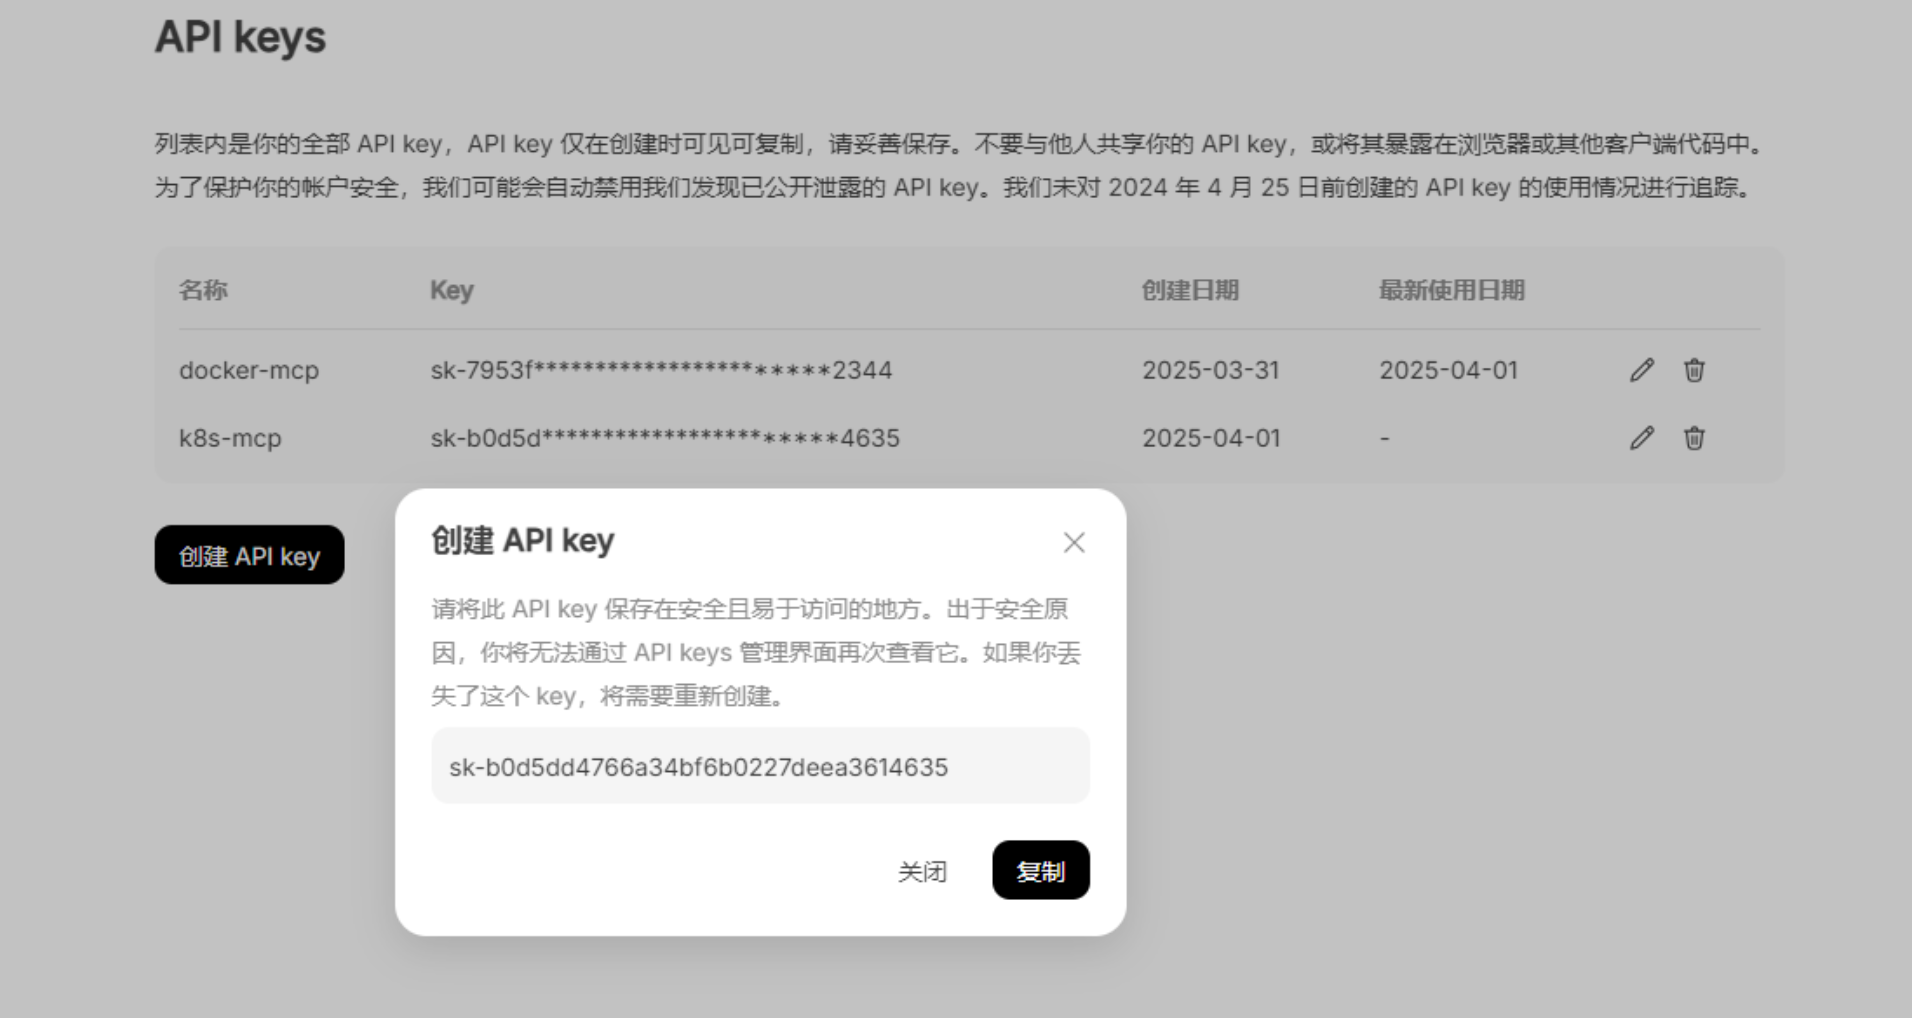
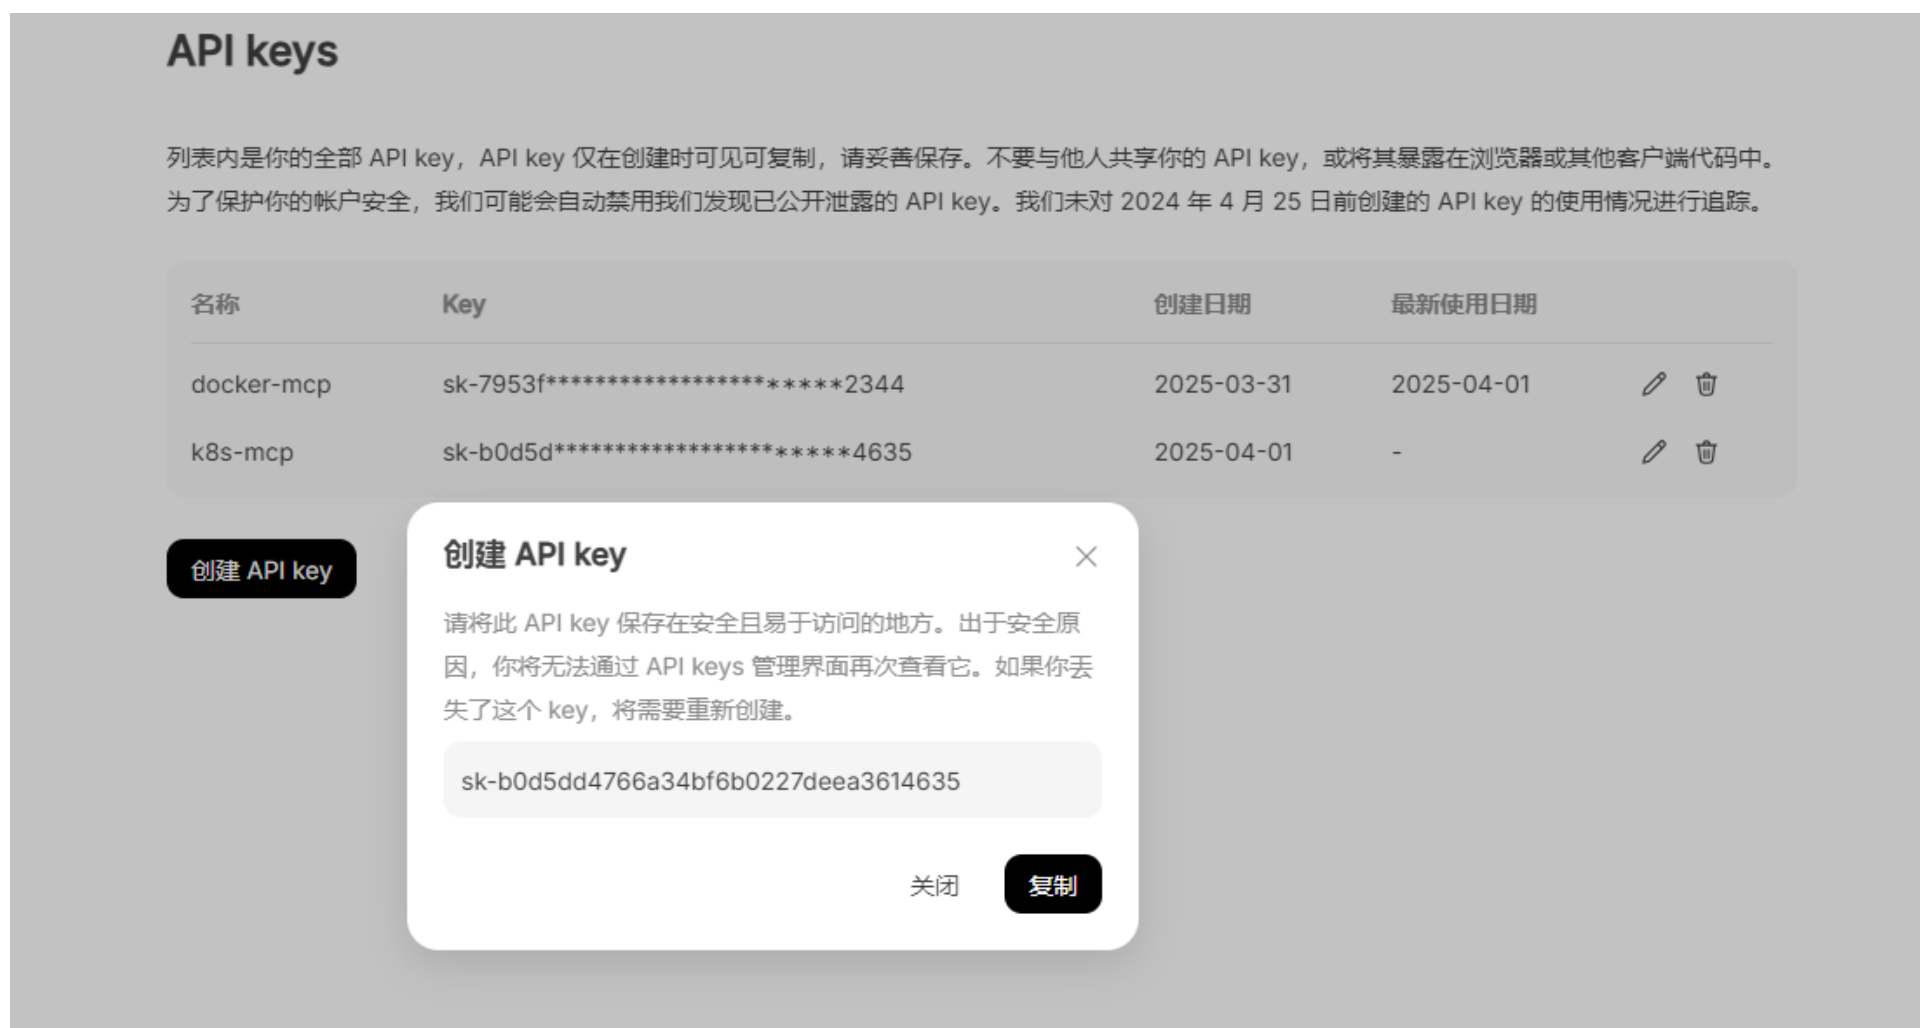
DeepSeek API访问及API key生成

登录后,可以实名后再充值使用。
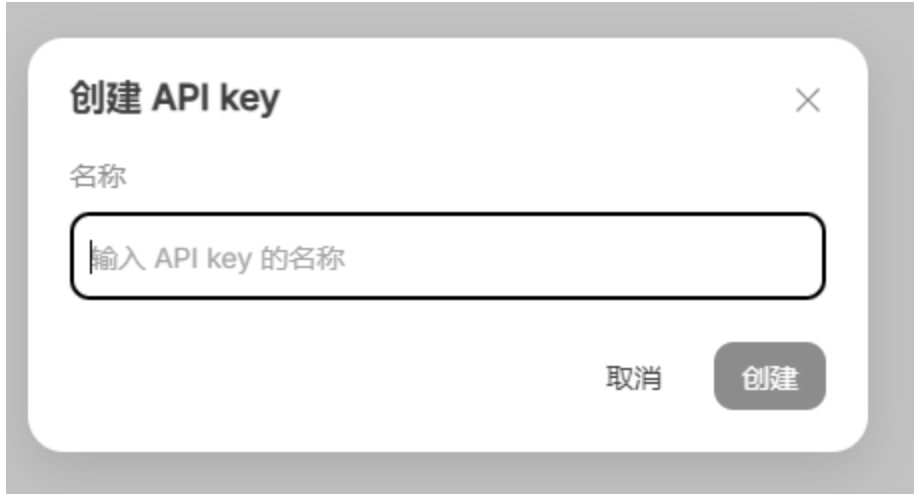
创建api token
mcp-server-docker下载
克隆MCP Docker插件仓库
git clone https://github.com/ckreiling/mcp-server-docker.git ~/mcp-server-docker
在项目代码中使用。
注意检查一下配置文件是否有错误
# vim pyproject.toml
可以使用uv run mcp-server-docker进行验证,看看能否启动运行。
# uv run mcp-server-docker
挂载目录static-content准备
可根据实际情况创建此目录,用于挂载使用,当访问docker容器时,可以看到此内容。
创建静态文件目录
mkdir -p ~/static-content
echo '<h1>MCP Docker Demo Success!</h1>' > ~/static-content/index.html
创建JAVA项目
创建项目目录
mkdir -p ~/mcp-docker-demo/src/main/java/com/example
cd ~/mcp-docker-demo
编写项目文件
创建pom.xml文件
# vim ~/mcp-docker-demo/pom.xml

<?xml version="1.0" encoding="UTF-8"?>
<project xmlns="http://maven.apache.org/POM/4.0.0"
         xmlns:xsi="http://www.w3.org/2001/XMLSchema-instance"
         xsi:schemaLocation="http://maven.apache.org/POM/4.0.0 https://maven.apache.org/xsd/maven-4.0.0.xsd">
    <modelVersion>4.0.0</modelVersion>

    <groupId>com.example</groupId>
    <artifactId>mcp-docker-demo</artifactId>
    <version>1.0.0</version>
    <name>MCP Docker Demo</name>
    <description>Spring AI + MCP Docker管理示例</description>

    <parent>
        <groupId>org.springframework.boot</groupId>
        <artifactId>spring-boot-starter-parent</artifactId>
        <version>3.2.4</version>
        <relativePath/>
    </parent>

    <dependencyManagement>
        <dependencies>
            <dependency>
                <groupId>org.springframework.ai</groupId>
                <artifactId>spring-ai-bom</artifactId>
                <version>1.0.0-M5</version>
                <type>pom</type>
                <scope>import</scope>
            </dependency>
        </dependencies>
    </dependencyManagement>

    <dependencies>
        <!-- 排除Web依赖的基础模块 -->
        <dependency>
            <groupId>org.springframework.boot</groupId>
            <artifactId>spring-boot-starter</artifactId>
            <exclusions>
                <exclusion>
                    <groupId>org.springframework.boot</groupId>
                    <artifactId>spring-boot-starter-web</artifactId>
                </exclusion>
            </exclusions>
        </dependency>

        <!-- Spring AI OpenAI集成 -->
        <dependency>
            <groupId>org.springframework.ai</groupId>
            <artifactId>spring-ai-openai-spring-boot-starter</artifactId>
        </dependency>

        <!-- MCP核心依赖 -->
        <dependency>
            <groupId>org.springframework.experimental</groupId>
            <artifactId>spring-ai-mcp</artifactId>
            <version>0.7.0-SNAPSHOT</version>
            <exclusions>
                <exclusion>
                    <groupId>org.springframework.boot</groupId>
                    <artifactId>spring-boot-starter-logging</artifactId>
                </exclusion>
            </exclusions>
        </dependency>
    </dependencies>

    <repositories>
        <repository>
            <id>spring-milestones</id>
            <name>Spring Milestones</name>
            <url>https://repo.spring.io/milestone</url>
            <snapshots>
                <enabled>false</enabled>
            </snapshots>
        </repository>
        <repository>
            <id>central</id>
            <url>https://repo.maven.apache.org/maven2</url>
        </repository>
    </repositories>

    <build>
        <plugins>
            <plugin>
                <groupId>org.springframework.boot</groupId>
                <artifactId>spring-boot-maven-plugin</artifactId>
                <configuration>
                    <mainClass>com.example.McpDockerApplication</mainClass>
                </configuration>
            </plugin>
        </plugins>
    </build>
</project>
创建配置文件
#mkdir -p ~/mcp-docker-demo/src/main/resources
# vim ~/mcp-docker-demo/src/main/resources/application.properties

# DeepSeek API配置(需替换真实Key)
spring.ai.openai.chat.options.model=deepseek-chat
spring.ai.openai.base-url=https://api.deepseek.com
spring.ai.openai.api-key=sk-7953fe6abf4b4074b507c66csdfsdfsdfsf

# 日志级别配置
logging.level.root=INFO
spring.main.web-application-type=none
创建JAVA主类
# vim ~/mcp-docker-demo/src/main/java/com/example/McpDockerApplication.java
内容如下:
package com.example;

import org.springframework.ai.mcp.spring.McpFunctionCallback;
import org.springframework.ai.mcp.client.McpSyncClient;
import org.springframework.ai.mcp.client.McpClient;
import org.springframework.ai.mcp.client.transport.StdioClientTransport;
import org.springframework.ai.mcp.client.transport.ServerParameters;
import org.springframework.ai.chat.client.ChatClient;
import org.springframework.boot.CommandLineRunner;
import org.springframework.boot.SpringApplication;
import org.springframework.boot.autoconfigure.SpringBootApplication;
import org.springframework.context.ConfigurableApplicationContext;
import org.springframework.context.annotation.Bean;
import java.time.Duration;
import java.util.List;
import java.util.Scanner; // 新增Scanner导入

@SpringBootApplication
public class McpDockerApplication {

    public static void main(String[] args) {
        SpringApplication.run(McpDockerApplication.class, args);
    }

    @Bean
    public CommandLineRunner dockerCommands(ChatClient.Builder chatClientBuilder,
                                            List<McpFunctionCallback> functionCallbacks,
                                            ConfigurableApplicationContext context) {
        return args -> {
            var chatClient = chatClientBuilder
                    .defaultFunctions(functionCallbacks.toArray(new McpFunctionCallback[0]))
                    .build();

            Scanner scanner = new Scanner(System.in); // 新增Scanner
            System.out.println("MCP Docker 交互模式已启动(输入 'exit' 退出)");
            while (true) {
                System.out.print("> ");
                String command = scanner.nextLine().trim();

                if ("exit".equalsIgnoreCase(command)) {
                    System.out.println("退出交互模式");
                    context.close();
                    break;
                }

                if (!command.isEmpty()) {
                    System.out.println("AI响应: " + chatClient.prompt(command).call().content());
                }
            }
        };
    }

    @Bean
    public List<McpFunctionCallback> functionCallbacks(McpSyncClient mcpClient) {
        return mcpClient.listTools(null)
                .tools()
                .stream()
                .map(tool -> new McpFunctionCallback(mcpClient, tool))
                .toList();
    }

    @Bean(destroyMethod = "close")
    public McpSyncClient mcpClient() {
        var dockerParams = ServerParameters.builder("uv")
                .args("--directory", "/root/mcp-server-docker", "run", "mcp-server-docker")
                .build();

        var mcpClient = McpClient.using(new StdioClientTransport(dockerParams))
                .requestTimeout(Duration.ofSeconds(30))
                .sync();

        var init = mcpClient.initialize();
        System.out.println("MCP初始化状态: " + init);
        return mcpClient;
    }
}
四、项目构建并运行
项目构建
# cd ~/mcp-docker-demo/
# mvn clean package
# ls target/
classes            maven-archiver  mcp-docker-demo-1.0.0.jar
generated-sources  maven-status    mcp-docker-demo-1.0.0.jar.original
项目运行
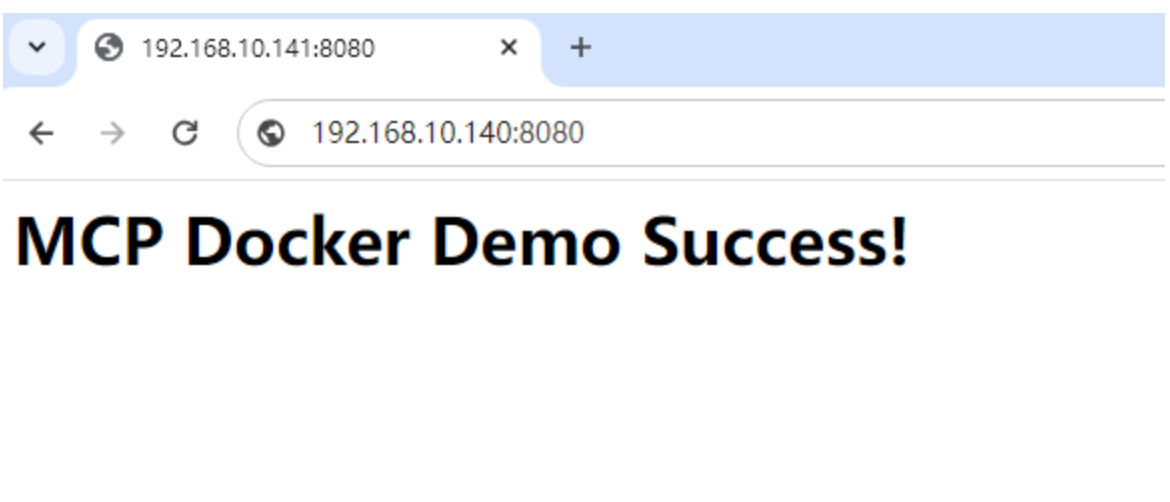
可在项目运行成功后,创建、删除容器等。
java -jar target/mcp-docker-demo-1.0.0.jar
运行后会有一个交互窗口,使用自然语言描述目的即可。
MCP Docker 交互模式已启动(输入 'exit' 退出)

> 帮我运行一个nginx容器,实现主机8080端口映射到容器80端口,且把/root/static-content挂载到容器中/usr/share/nginx/html
执行后,输出如下:
-
容器名称:
beautiful_elbakyan -
容器ID:
38a6c7146193 -
状态: 正在运行 (
running) -
端口映射: 主机的
8080端口已映射到容器的80端口。 -
卷挂载: 主机的
/root/static-content目录已挂载到容器的/usr/share/nginx/html目录。
访问方式
-
通过浏览器访问:
-
打开浏览器,输入
http://localhost:8080或http://<你的主机IP>:8080。 -
如果
/root/static-content目录中有静态文件(如index.html),它们将显示在浏览器中。
-
-
检查容器日志:
-
如果需要查看容器的日志,可以告诉我,我会帮你获取。
-
-
停止或删除容器:
-
如果需要停止或删除容器,也可以随时告诉我。
-
如果有其他需求或问题,请随时告知!
在其它终端中验证
# docker ps
CONTAINER ID   IMAGE     COMMAND                  CREATED          STATUS          PORTS                                     NAMES
38a6c7146193   nginx     "/docker-entrypoint.…"   10 seconds ago   Up 10 seconds   0.0.0.0:8080->80/tcp, [::]:8080->80/tcp   beautiful_elbakyan
项目运行逻辑说明
以下是代码和架构的完整流程图,使用标准流程图符号表示:
┌───────────────┐      ┌───────────────┐      ┌───────────────┐
│   用户输入     │      │  Java客户端    │      │ spring-ai-mcp  │
└───────┬───────┘      └───────┬───────┘      └───────┬───────┘
        │ 1.输入自然语言指令    │                       │
        ├─────────────────────>│ 2.读取指令            │
        │                      │ (Scanner.nextLine()) │
        │                      │                      │
        │                      │ 3.创建AI请求          │
        │                      │ (chatClient.prompt())├───┐
        │                      │                      │   │
        │                      │                      │   │ 4.调用DeepSeek API
        │                      │                      │   │ (自然语言→结构化JSON)
┌───────┴───────┐      ┌───────┴───────┐      ┌───────┴───────┐
│ DeepSeek服务   │      │  指令处理结果   │     │ mcp-server-docker │
└───────┬───────┘      └───────┬───────┘      └───────┬───────┘
        │ 5.返回结构化命令      │                       │
        │<─────────────────────┤                      │
        │                      │ 6.转换命令            │
        │                      │ (McpFunctionCallback)│
        │                      │                      │
        │                      │ 7.发送Docker协议指令   │
        │                      │ (StdioClientTransport)├───┐
        │                      │                      │   │
        │                      │                      │   │ 8.调用Docker API
┌───────┴───────┐      ┌───────┴───────┐      ┌───────┴───────┐
│ Docker引擎     │      │  操作执行结果  │      │  结果返回路径   │
└───────┬───────┘      └───────┬───────┘      └───────┬───────┘
        │ 9.返回容器状态/日志   │                      │
        │<─────────────────────┤                      │
        │                      │ 10.封装响应          │
        │                      │ (逆向调用链)          │
        │                      │                      │
        │                      │ 11.输出AI响应        │
        │                      │ (System.out.println())│
        │                      │<──────────────────────┤
        │                      │                      │
        ▼                      ▼                      ▼
流程图说明
| 步骤 | 关键动作 | 对应代码/组件 |
|---|---|---|
| 1 | 用户输入自然语言指令(如"启动nginx") | Scanner scanner = new Scanner(System.in); command = scanner.nextLine() |
| 2 | Java客户端读取指令 | while循环中的输入处理 |
| 3 | 创建AI请求对象 | chatClient.prompt(command) |
| 4 | 调用DeepSeek API进行自然语言解析 | Spring AI自动集成的DeepSeek服务调用 |
| 5 | DeepSeek返回结构化命令(如{"action":"run","image":"nginx"}) |
chatClient.call().content()返回的JSON |
| 6 | 将JSON映射到具体的Docker操作 | McpFunctionCallback动态解析工具功能 |
| 7 | 通过标准输入输出发送协议指令 | StdioClientTransport.send() |
| 8 | 调用Docker API执行实际操作 | mcp-server-docker进程执行docker run nginx |
| 9 | Docker引擎返回操作结果(容器ID/错误信息) | Docker CLI/API的标准输出 |
| 10 | 逆向封装响应(JSON → 自然语言描述) | Spring AI的响应自动转换 |
| 11 | 客户端输出最终响应(如"已成功启动nginx容器,ID:a1b2c3d") | System.out.println("AI响应: " + response) |
流程特点
-
双向数据流
-
实线箭头(→):表示正向指令传递
-
虚线箭头(⇢):表示逆向结果返回(图中用
<─符号简化表示)
-
-
组件隔离性
-
Java客户端不直接操作Docker,全部通过
spring-ai-mcp代理 -
mcp-server-docker作为独立进程运行,通过标准输入输出通信
-
-
AI服务透明化
-
DeepSeek的调用细节被
spring-ai-mcp封装,开发者只需关注自然语言输入和最终响应
-
流程验证方法
-
启动顺序检查
# 预期进程树
java -jar McpDockerApplication.jar  # Java客户端
  └─ mcp-server-docker             # 子进程(通过StdioClientTransport启动)
      └─ dockerd                   # Docker守护进程
-
关键日志标记
// 在代码中添加调试标记
System.out.println("[DEBUG] 发送到DeepSeek的原始请求: " + command);
System.out.println("[DEBUG] 收到DeepSeek响应: " + response);
System.out.println("[DEBUG] 发送到Docker的命令: " + dockerCommand);
欢迎加入 MCP 技术社区!与志同道合者携手前行,一同解锁 MCP 技术的无限可能!
更多推荐
 8
8 0
0- 0


 已为社区贡献6条内容

所有评论(0)