手把手教你做 StarRocks Agent
·
还在苦哈哈地在各种渠道手动收集 StarRocks 集群情况来做巡检吗?还在苦于业务方各种拍脑袋的低效 sql 上线引发的各种性能问题吗?还在忙于手动编写一堆测试代码用于验证某个可能无关紧要的业务场景吗?
其实只要有一个 Agent,这些都不再是问题!
前置条件
1. 安装 Python
pyenv install 3.12
pyenv global 3.12.11
pip3 install uv
2. 安装 Agent
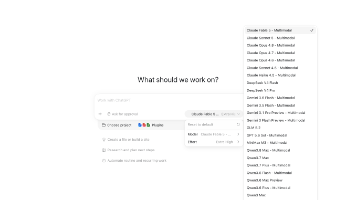
使用流行的 DeepChat,实测非常好用!
3. 下载 MCP
使用 StarRocks 官方提供的 mcp 工具,也可以基于此做二次开发
https://github.com/StarRocks/mcp-server-starrocks.git
配置 Agent
1. 验证 MCP
STARROCKS_URL=user:pwd@localhost:9030 uv run mcp-server-starrocks --test

# 若输出类似如下内容,则通过

2026-03-04 14:33:09 | INFO | mcp_server_starrocks.server:main:559 | Starting StarRocks MCP Server with mode=stdio, host=localhost, port=3000 default_db=None
2026-03-04 14:33:09 | INFO | mcp_server_starrocks.server:main:563 | Starting tool test
2026-03-04 14:33:10 | INFO | mcp_server_starrocks.server:main:566 | Result:
2026-03-04 14:33:10 | INFO | mcp_server_starrocks.server:main:567 | Database
db1
information_schema
Total rows: 2
Execution time: 0.007s

2026-03-04 14:33:10 | INFO | mcp_server_starrocks.server:main:568 | Tool test completed
2. 在 DeepChat 的设置页面新增
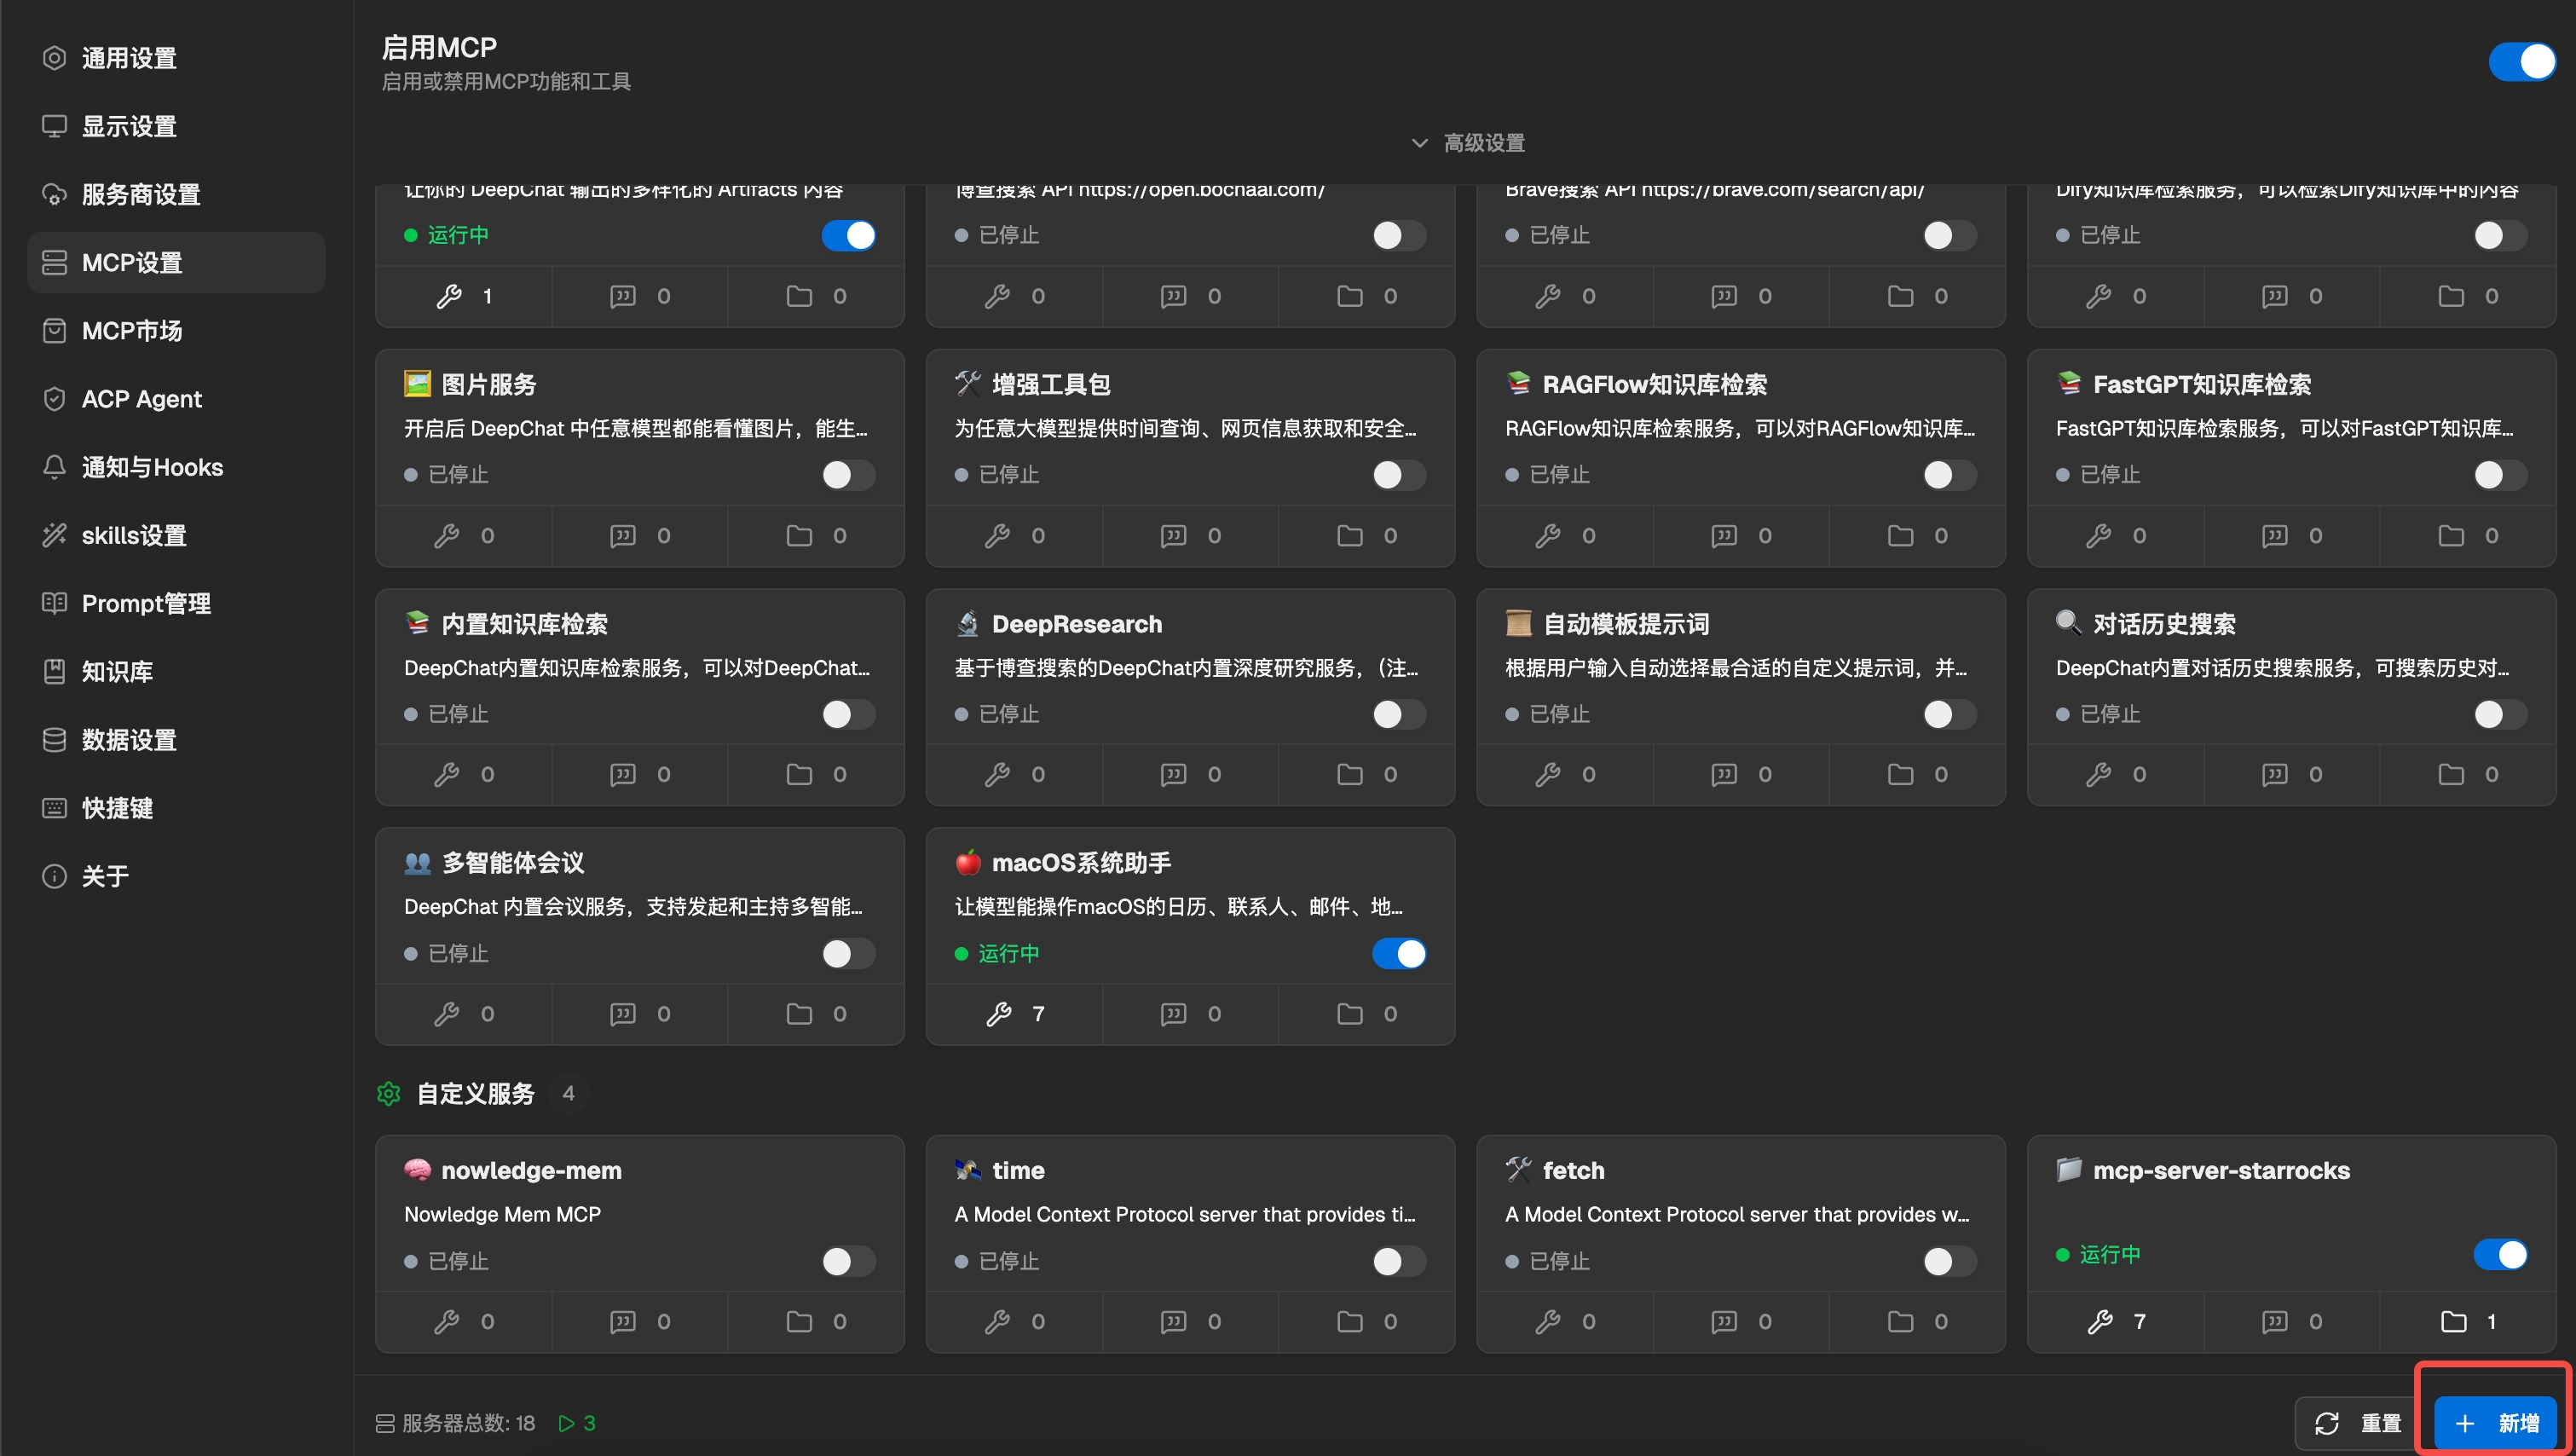
3. 配置
{
  "mcpServers": {
    "mcp-server-starrocks": {
      "command": "uv",
      "args": [
        "--directory",
        "path/to/mcp-server-starrocks", // <-- Update this path
        "run",
        "mcp-server-starrocks"
      ],
      "env": {
        "STARROCKS_URL": "root:password@localhost:9030/my_database"
      }
    }
  }
}
使用案例
使用如下 prompt
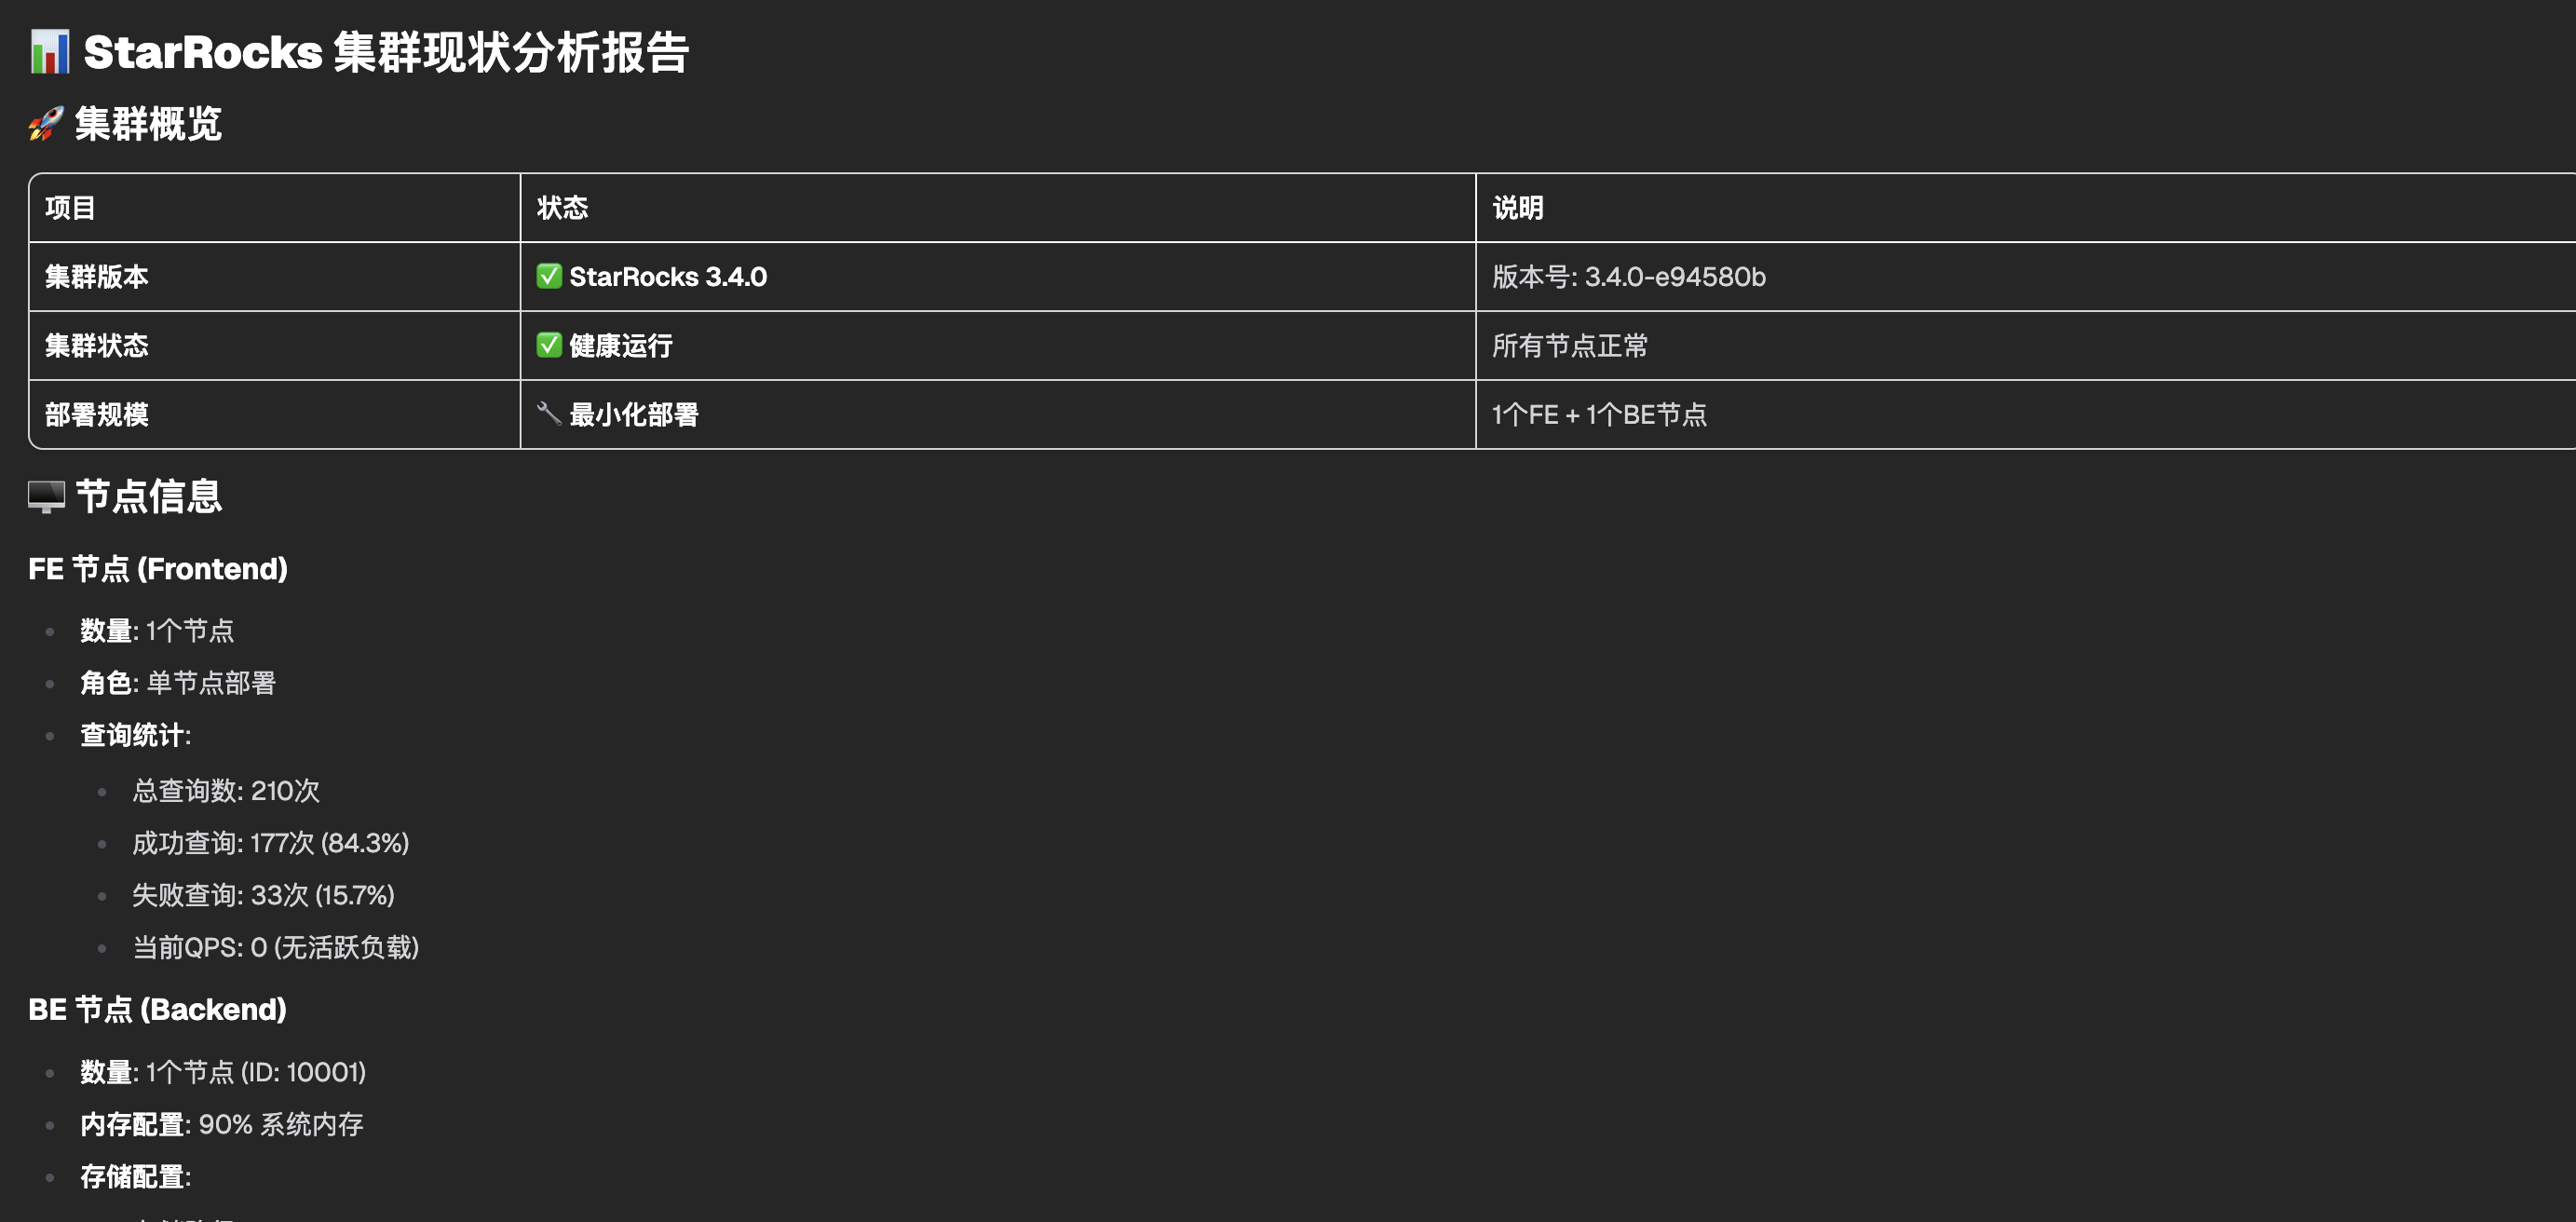
1. 看下集群现状
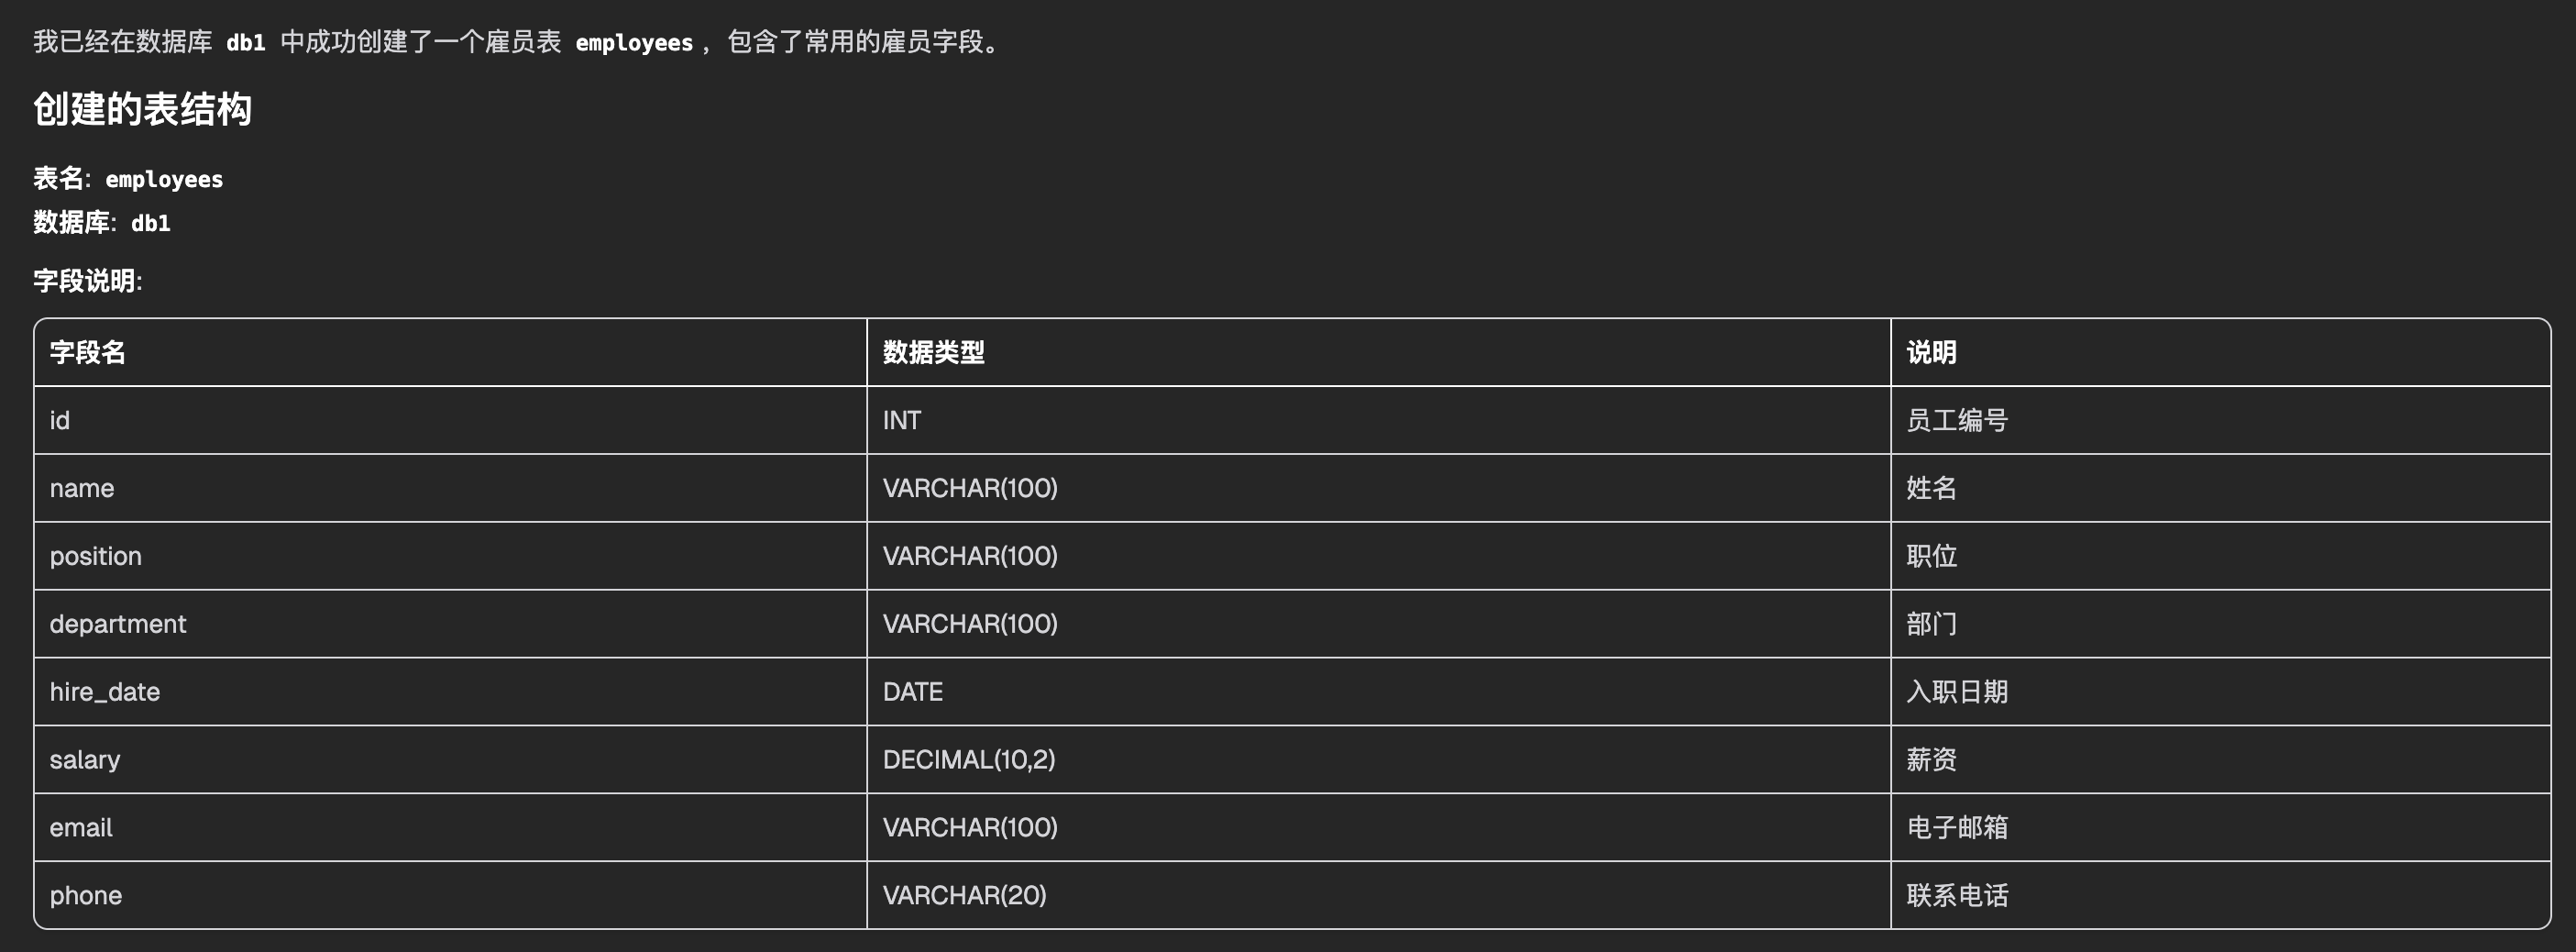
 2. 给我在db1库建一个雇员表,有一些雇员字段
3. 写100条测试数据进去

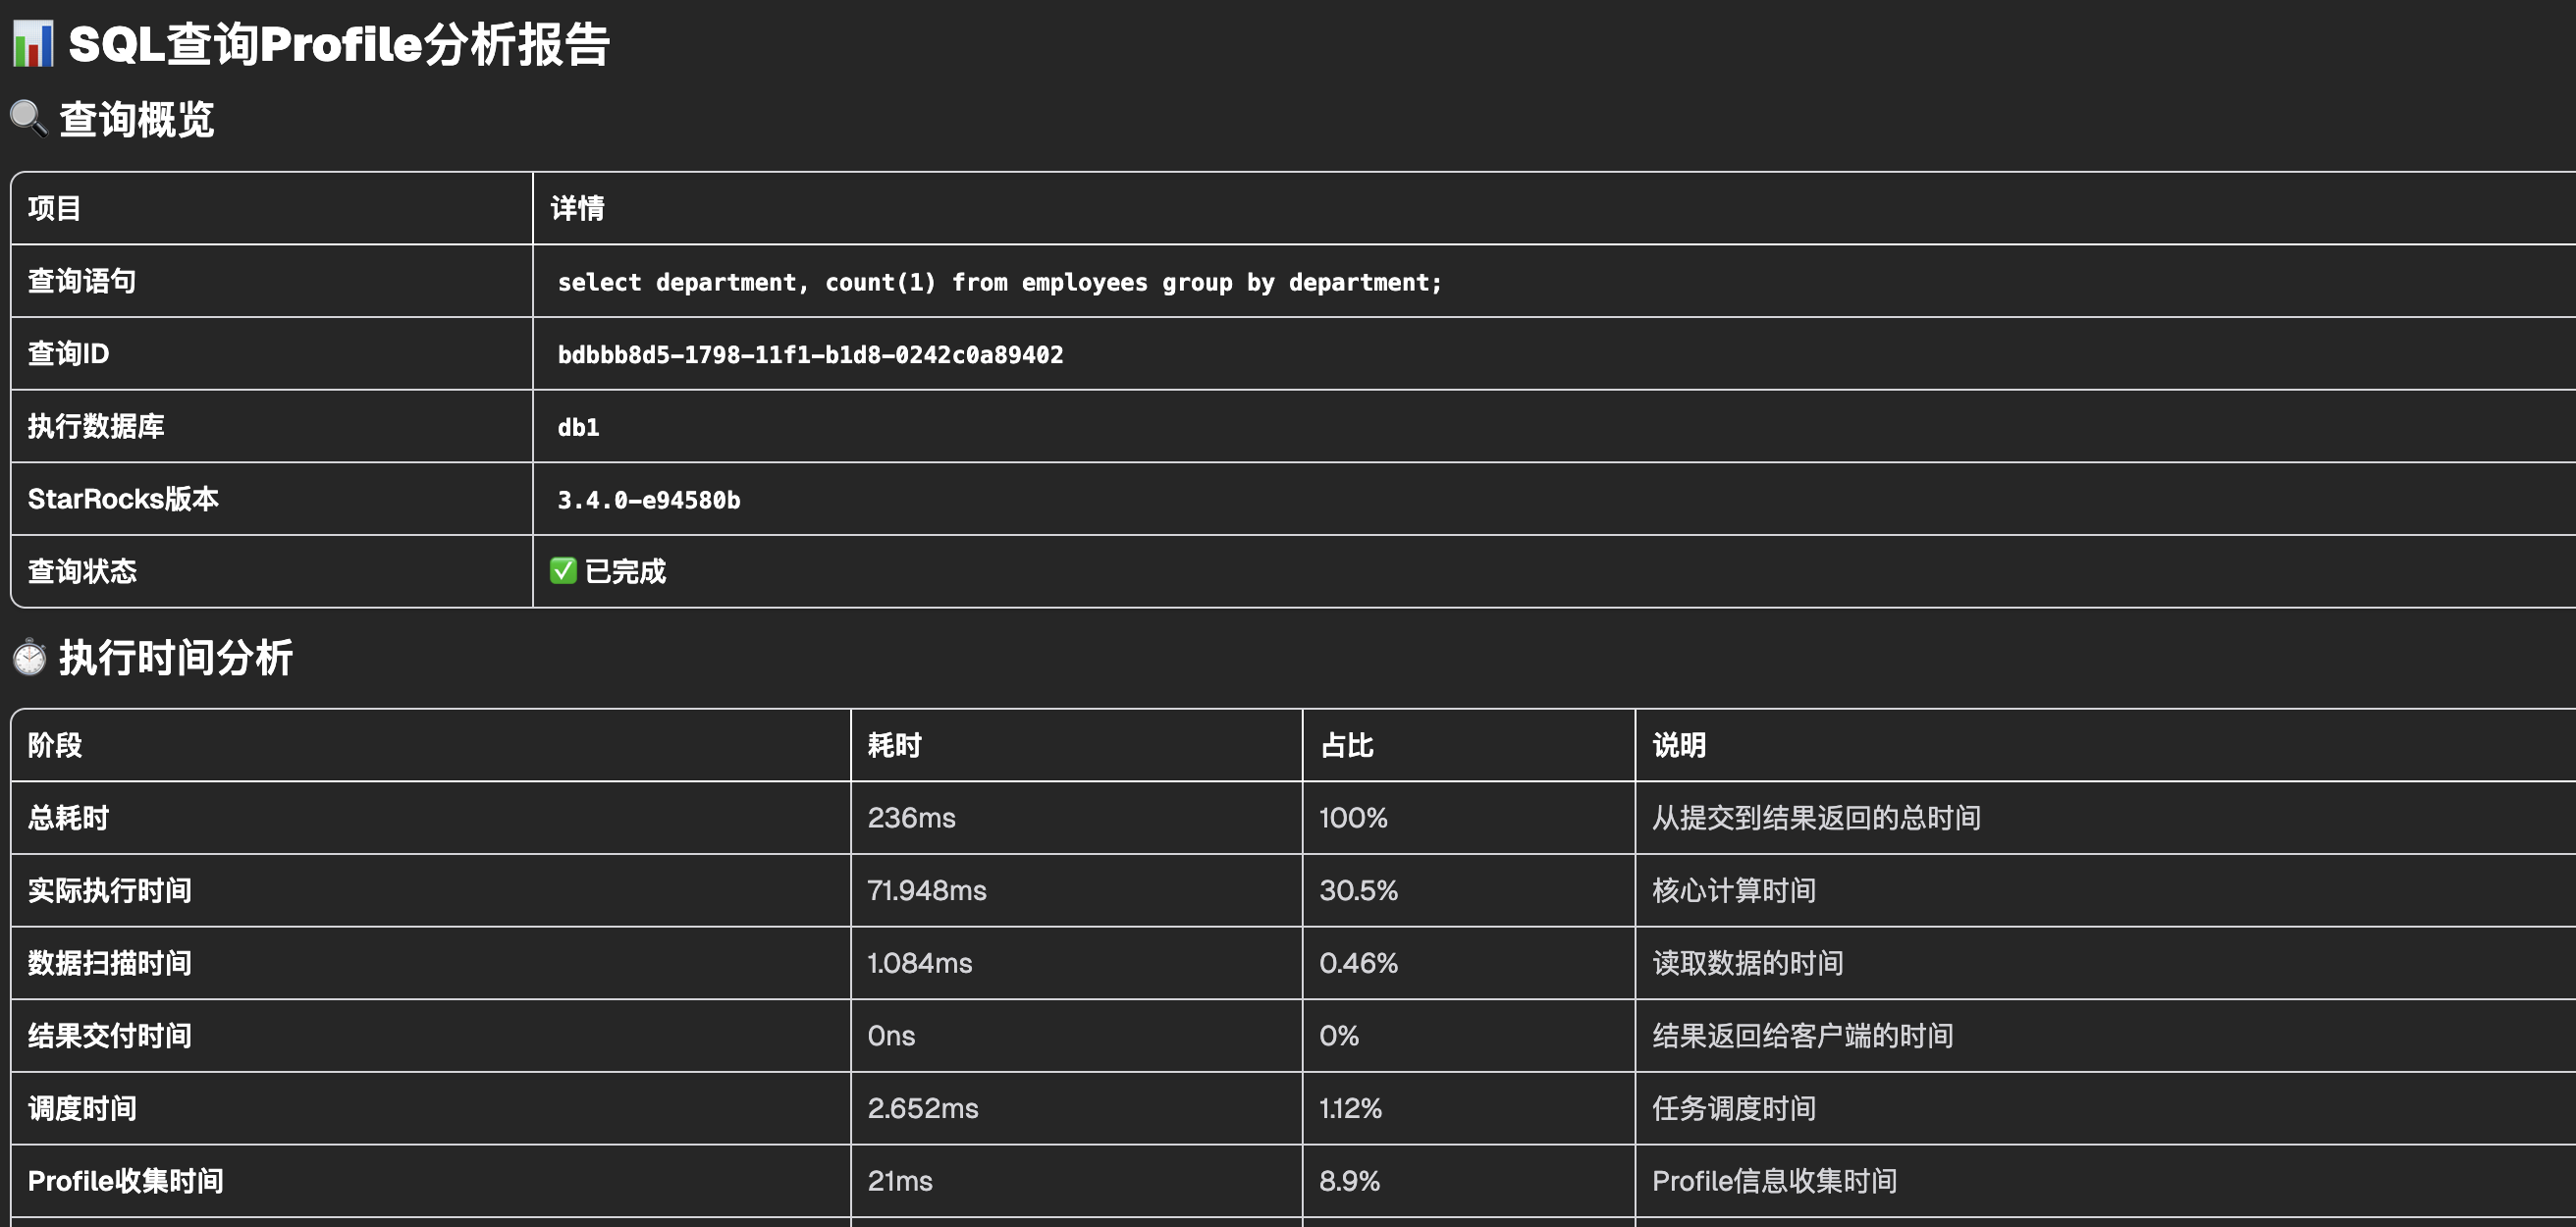
4. 给我分析一下这个语句的profile
select department, count(1) from employees group by department;

欢迎加入 MCP 技术社区!与志同道合者携手前行,一同解锁 MCP 技术的无限可能!
更多推荐

 8
8 0
0- 0


 已为社区贡献2条内容

所有评论(0)